How to Fix Steam Not Opening in 2025 [Ultimate Fix]
If you are looking for fixes for Steam Not Opening then this article is for you. Steam is one of the most famous video game distribution services developed by Valve Corporation and has been a hit among gamers of all age groups for the last few years.
![Steam Not Opening [Ultimate Fix] Steam Not Opening [Ultimate Fix]](https://blog.omggamer.com/wp-content/uploads/2025/10/Steam-Not-Opening.jpg)
Why is Steam Not Opening?
Often the servers of the Steam application get highly congested with more traffic than they can handle, thus disrupting the service availability. This prevents you from accessing your Steam content. In such cases, the “Steam Not Opening” issue is not caused by the individual’s computer, but rather by the Steam servers.
Also Read: [Solved] How To Fix Steam Disk Write Error in 2025
Also, some reports indicate that a few popular applications, including Steam, have malfunctioned in the presence of earlier versions of Windows, most likely Windows 10. However, Windows cannot always be blamed since there can also be other reasons that affect Steam’s availability to gamers.
Methods to Fix “Steam Not Opening” Error
Fixing the “Steam Not Opening” issue is not a challenging task. The only thing you have to do is go through the process correctly. There are 10 methods given below that can surely help you fix the “Steam Not Opening” error.
| Methods to Fix “Steam Not Opening” Error |
|---|
| Method 1: Close all the Steam tasks |
| Method 2: Restart your computer |
| Method 3: Restart your router |
| Method 4: Reinstall the Steam Application |
| Method 5: Check Windows Update |
| Method 6: Temporarily disable your antivirus software |
| Method 7: Run Steam as an Administrator |
| Method 8: Update GPU Drivers |
| Method 9: Update Your Date and Time Settings |
| Method 10: Disable Overclocking |
Related: [SOLVED] How to Fix Steam Service Error in 2025
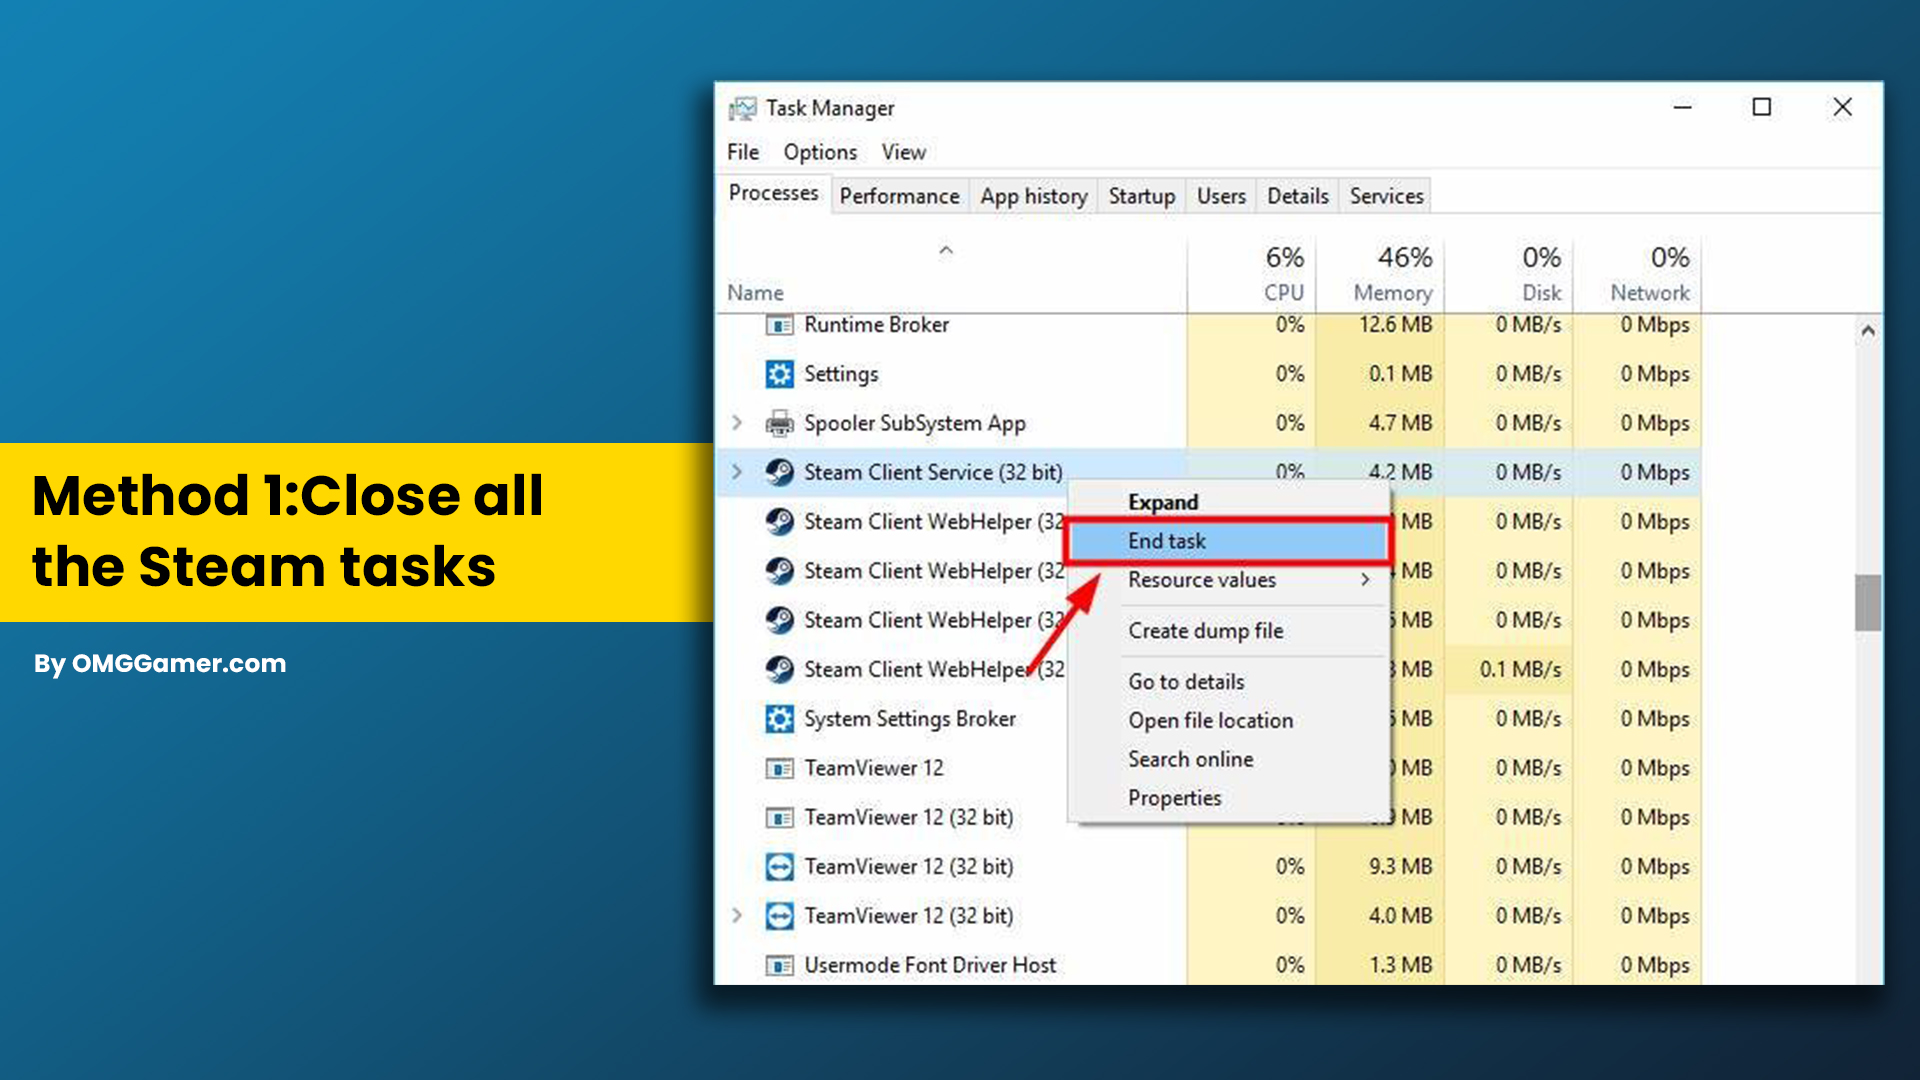
Method 1: Close all the Steam tasks
- Step 1: To close all the Steam tasks running in the background, click on the search icon at the bottom of your screen and search for “Task Manager”.
- Step 2: Once you open it, click on the “End Task” button after selecting each running Steam task, and it will immediately end all the Steam tasks.
- Step 3: Now, launch your Steam client to see whether the Steam not opening issue gets resolved or not. If not then move to the next fix.
Method 2: Restart your computer
The state or the cache of your PC November be interfering with your Steam client’s working. In this case, simply restarting your system can help you fix the issue.
- Step 1: To restart your computer, click on the Windows icon in the Taskbar of your screen and click on the power icon.
- Step 2: Here, click on Restart, and your system will restart immediately.
Must Read: When is Steam Next Sale [November] 2025: Steam Monthly Sale
Method 3: Restart your router
These kinds of issues can also happen because of a fault in your router. Your router might have a weak internet connection, or the router’s power supply might have been interrupted. You should check your router and fix this issue, though replacing it is the best option if you feel that the router issue cannot be resolved.
Method 4: Reinstall the Steam Application
Reinstalling the Steam application on your system can also help you get rid of this issue. Here is how you can do that:
- Step 1: To reinstall Steam, firstly, end all the Steam tasks running in the background with the help of Task Manager.
- Step 2: You need to back up your game files by finding the Steam folder on your computer. For that, you have to type “Steam” into the Start menu and open the folder named “Steam.exe” by right-clicking on it.
- Step 3: Next, choose the “Open file location” option.
- Step 4: Now you have to copy the file named “steamapps” and paste it somewhere safe, like the “My Documents” folder. Later, go to the control panel and uninstall Steam.
- Step 5: Now, restart your PC and go to the Steam website; install the Steam application from here, and you are good to go.
Also Read: [SOLVED] How to Fix Steam Connection Error in 2025
Method 5: Check Windows Update
Your Windows operating system might not be up-to-date, thus causing problems for various applications. The steam application can be one of them, too. To update Windows follow the given steps:
- Step 1: Click on the Windows icon on the main screen; you will be redirected to a page where you will see the Windows update option;
- Step 2: Click on the Windows update option.
- Step 3: Once done, restart the system, and you are good to go.

Method 6: Temporarily disable your antivirus software
It is seen that sometimes the antivirus software that is installed on our PC interferes with applications like Steam; you can get yourself out of this situation by temporarily disabling your antivirus software.

Method 7: Run Steam as an Administrator
There are two ways to run Steam as an Administrator. The first method starts Steam with Administrator privileges for the time being. The second method permanently runs it with the Administrator role.
- The first process can be done by right-clicking the Steam shortcut on the Desktop and clicking “Run as Administrator”.
- In the second method, you have to go to your Steam install directory (“C: Program Files (x86)Steam” by default), right-click on Steam, and click Properties. Now select the box that says, “Run this program as an Administrator”.
Method 8: Update GPU Drivers
Updating the GPU drivers is not a huge task that you have to worry about. It is a simple process that can be done either through GeForce Experience on Nvidia or Radeon Settings on AMD. You have to simply “Check for updates” in either of the apps and if you find any, download the latest driver.

Method 9: Update Your Date and Time Settings
It is seen that Steam collects real-time data from your computer, and it includes the Date and Time too. So you should always keep it up-to-date. To update the Date and Time Settings follow the given steps:
- Step 1: On your system, go to the Control Panel.
- Step 2: Select the “Clock and Region” setting from the Control Panel and choose “Date and Time”. Later you will see an option that says “Internet Time in the pop-up window”.
- Step 3: Here, select the “Change settings” option from the bottom.
- Step 4: Now click on the box in front of the “Synchronize with an Internet time server”. Now your system’s time will be updated, and you can proceed efficiently.

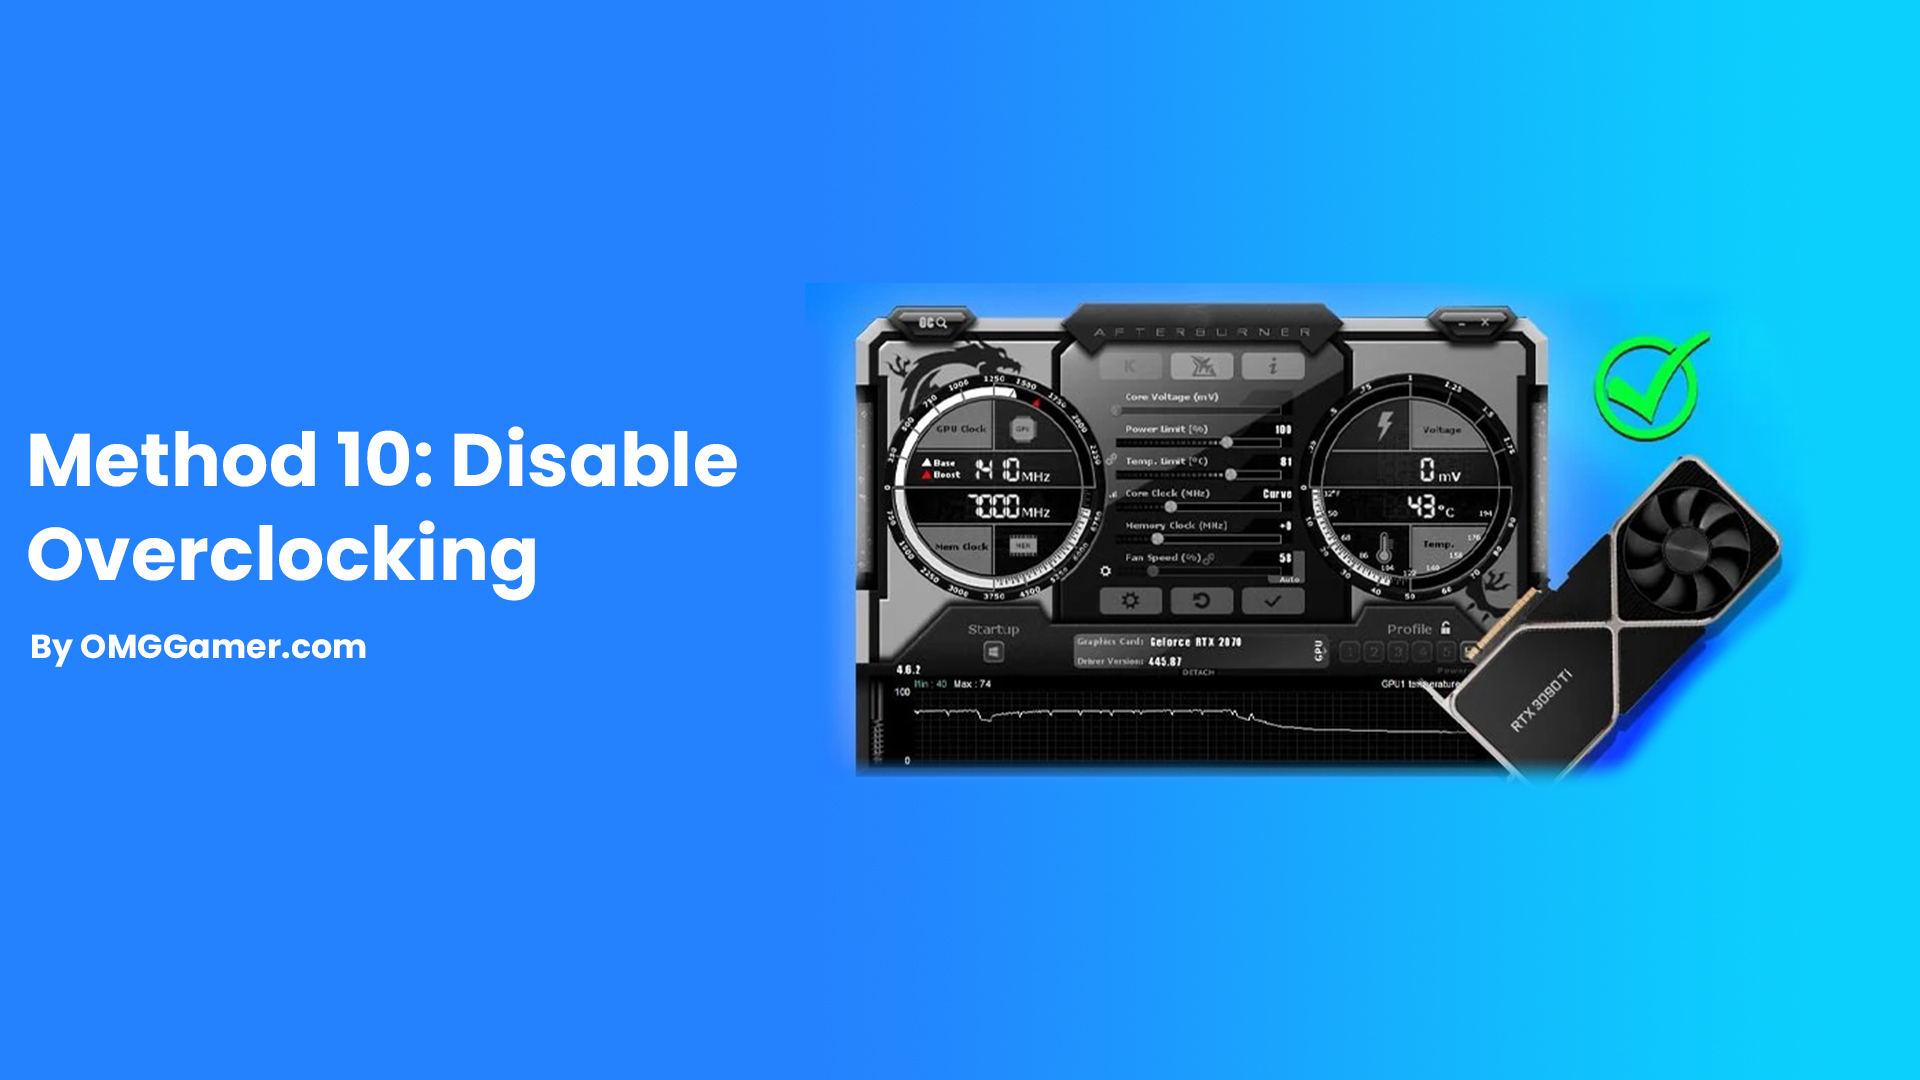
Method 10: Disable Overclocking
To disable overclocking in your system, follow the given steps:
- Step 1: Type “Settings” into the Start menu and select the Settings option.
- Step 2: Now choose “Updates & Security” and click the “Recovery” option.
- Step 3: Choose the “Restart now” option under the “Advanced Startup” info bar.
- Step 4: Now you will come across an options menu where you have to click on Troubleshoot >> Advanced Options >> UEFI Firmware Settings >> Reset settings to default.
- Step 5: Now save the changes, exit the BIOS menu, and you are good to go.
That’s all for this guide on How to Fix Steam Not Opening. We hope with the above fixes, the Steam Not Opening issue gets resolved. If this guide helps you, then share it with your friends who are facing issues with Steam Service, and keep visiting omggamer.com for updates on gaming, upcoming games, gaming builds, and much more.


![Overwatch 2 Tier List: Best Heroes [November] 2025 1 Overwatch 2 Tier List: Best Heroes](https://blog.omggamer.com/wp-content/uploads/2025/10/Overwatch-2-Tier-List-Best-Heroes.jpg)
![Dragon Ball Z Dokkan Battle Tier List [November] 2025 2 Dokkan Battle Tier List](https://blog.omggamer.com/wp-content/uploads/2025/10/Dokkan-Battle-Tier-List.jpg)
![Free Fire Redeem Codes [November] 2025: 100% Working 3 Latest-Free-Fire-Codes](https://blog.omggamer.com/wp-content/uploads/2025/10/Latest-Free-Fire-Codes.jpeg)
![ASUS ROG Ally Review, Design, Display, Features & Price [2025] 4 ASUS ROG Ally Review, Design, Display, Features & Price](https://blog.omggamer.com/wp-content/uploads/2025/10/ASUS-ROG-Ally-Review-Design-Display-Features-Price.jpg)
![5 Best PS5 Tennis Games in 2025 [You Must Try] 5 Best PS5 Tennis Games](https://blog.omggamer.com/wp-content/uploads/2025/10/Best-PS5-Tennis-Games.jpg)


