Destiny 2 Ouroborea Ascendant Challenge Guide in 2025
If you are looking for Ouroborea Ascendant Challenge Guide then you are in the right place. Before getting into the steps let’s know more about Ouroborea and Aphelions Rest.

What is Ouroborea Challenge
Ouroborea challenge is all about to complete destruction of four Blights. Near to the portal entrance, you will find the two blights which will be very close. Use a good exotic weapon to damage.
Checkout: Ascendant Challenge List | Destiny 2 Challenge This Week
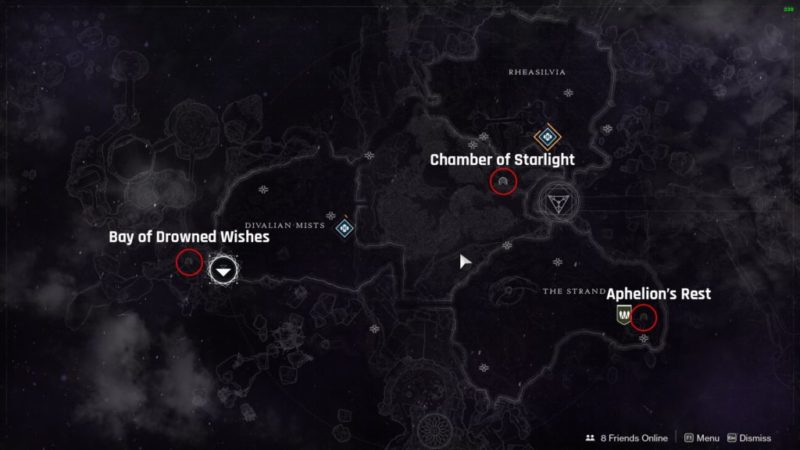
Aphelion’s Rest Location
To reach Aphelion’s Rest Location you have to follow the following steps first and then you will reach the lost sector easily.

Steps to reach Aphelion’s Rest Location
- Spawn at Divilian Mists
- Using your sparrow make your way to the Strand. Once you reach the location as shown in the image
- Jump below to the rock located on the side and locate the lost sector sign
- Follow the path and clear it
- Takedown the boss located at the end
- Pop the Tincture of Queensfoil, the Ascendant Realm entrance will appear
- Move inside.
How to Complete Ouroborea Ascendant Challenge
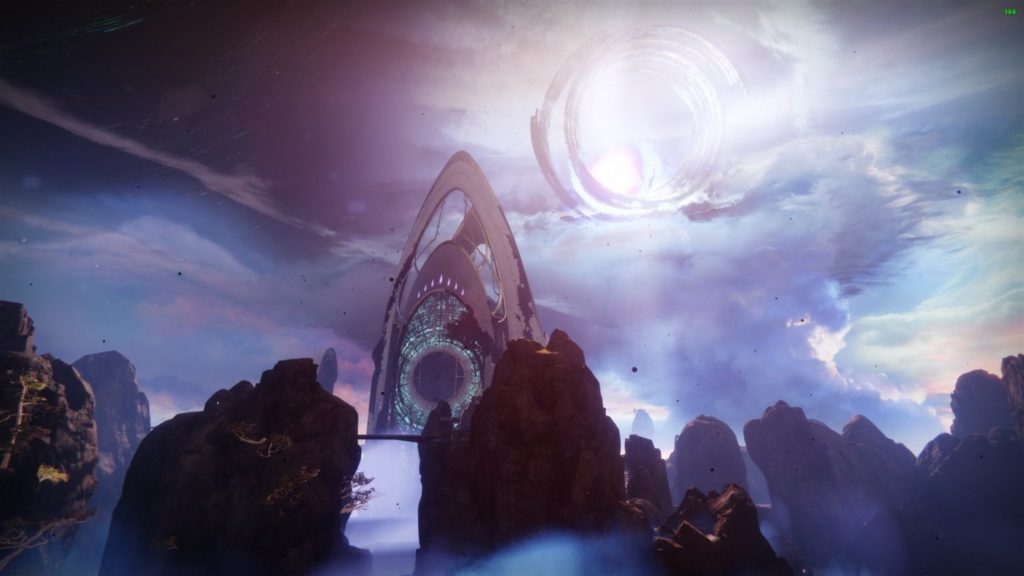
The Ouroborea ascendant challenge is located in the lost sector of Aphelion’s Rest. If you don’t know what these are and why is it relevant, please refer to other ascendant challenge articles. Pick up the bounty from Petra, and read the blurb, which reads “They call it a ‘rest,’ but it is more truly a haunt.”
By Toland, the Shattered, then use your tincture of queensfoil. Go to the back of the Strand area, behind the rock where Petra stands on weak curse week. On the back of the bottom of the rock, you will find the entrance. The portal is in the middle of the lost sector, so clear a couple of ads and jump through it.
Read: How to get Ace of Spades Destiny 2
The aim of the challenge is to make the shield disappear from the levitating crystals in the middle of the room. You need to clear the four blights around the area and after that destroy the crystals, as soon as you blow up the last one, the mobs and abyssal champions will disappear and the loot chest will spawn. Grab your loot and head out from the challenge.

If you want to grab the eggs and the lore bone, once you cleared the eggs go to the statue which is just in front of the portal. Now turn around and run across the middle area towards the small path and turn left where the path divides into a circular roundabout. As you pass the first pillar look down from the outer edge and you can see the egg a bit further in the distance.
Now jump across the platform to the circular platform, turn left, and run down the stairs, across the grass, then a slight right and you will get to a textured part of the pathway. Cross this and you can see some floating structure and it’s on the left side of this. Now go back to the center area and face the statue with the portal behind it.
Recommended: How to get Destiny 2 Cloudstrike Exotic Sniper Rifle
Turn to your left and run down the pathway. Once you pass the two large statues, you can see the egg in the distance on the right side. Now jump over the ledge and up onto the staircase above and run to the end of the small structure until you reach the end.
Jump on top of the broken column, and turn around, and walk back to the attic area of the aforementioned structure. When you arrive at the end of this, you see the two statues you passed before, on the pathway. Jump onto the top of the one on the left and you can see another statue in the distance. The lorebones are on the top of the head of this one.
Read: Top 10 Destiny 2 Best Black Armory Weapons in 2025
Ouroborea Ascendant Challenge Video Guide
This is all for the Ouroborea Ascendant Challenge, if you face any problem while doing to the ascendant challenge then do comment down below. If you came here for the first time do subscribe to our Newsletter given down below so that we will update you with more Destiny 2 News and tips.


![MK11 Tier List [November] 2025: Characters List 3 MK11 Tier List: Mortal Kombat Characters List](https://blog.omggamer.com/wp-content/uploads/2025/10/MK11-Tier-List-Mortal-Kombat-Characters-List-1.jpg)
![Modern Warfare 2 Maps in 2025 [Complete List] 4 Modern Warfare 2 Maps](https://blog.omggamer.com/wp-content/uploads/2025/10/Modern-Warfare-2-Maps.jpg)
![Jump Force 2 Release Date, Story, Trailer & Rumors [2025] 5 Jump Force 2 Release Date, Story, Trailer, Gameplay & Rumors](https://blog.omggamer.com/wp-content/uploads/2025/10/Jump-Force-2-Release-Date-Story-Trailer-Gameplay-Rumors.jpg)
![10 Best Bloodborne Builds in 2025 [Players Choice] 6 Best Bloodborne Builds](https://blog.omggamer.com/wp-content/uploads/2025/10/Best-Bloodborne-Builds-1.jpg)


